Step-by-Step Tutorials for Creating Vehicle Replicas
To start your order, select your vehicle and desiered replica type:
Download the AVT App to Start Digitalizing Your Vehicles with Ease.
Navigation & Overview
Create Exact Digital Vehicle Replicas in Minutes
Tutorials provide each step for making AVTs based on the vehicle and replica type you select.
AVT Exterior & Interior Replica Tutorial
Let buyers sit in the car before they call.
Give customers the ability to rotate the vehicle and explore its cabin — from any device, anywhere.
Consists of 12–14 exterior panoramas at side-mirror height and interior panoramas for all window side seats. Capture the inside and outside of any vehicle in under 20 minutes.
AVT Walkthrough Replica Tutorial
Every door. Every detail. No surprises at handover.
All surfaces and compartments, documented from the outside in. The new standard for dispute preventing visual automotive documentation.
Using 14 exterior, 22 open-door, and 4 interior panoramas ensures full coverage and smooth viewer navigation between the outside and inside of the vehicle. Approximately 30 minutes.
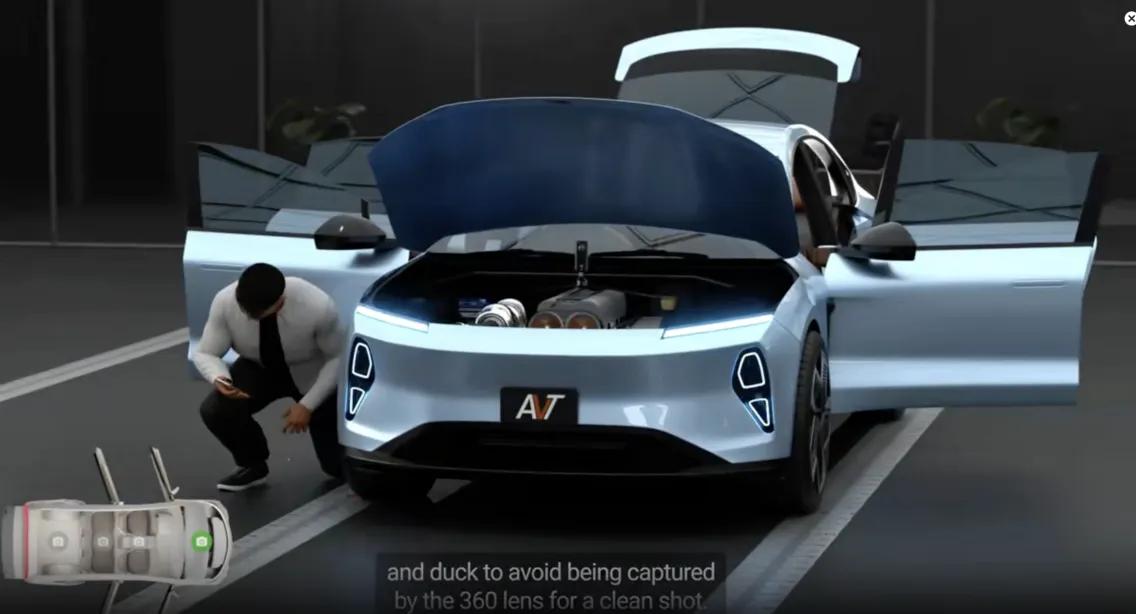
AVT 3D Replica Capture Tutorial
Rim to roofline. The most complete digital record in the industry.
A photorealistic, fully navigable replica of a vehicle. Each surface, each panel edge, captured in dimensional detail. Processed with cutting-edge precision.
Multi-level capture — rim, mirror, and roofline — with open-door configurations and interior panoramas covering all seating rows, engine bay, trunk, and storage. Approximately 60 minutes.
Pushpin Suggestions
Pushpins spotlights crucial vehicle details — attach photos, videos, and notes to highlight damage, special features, and close-ups directly on the replica.
Pushpins spotlights crucial vehicle details — attach photos, videos, and notes to highlight damage, special features, and close-ups directly on the replica.
Tips & Tricks for Perfect Replicas
Vehicle Preparation
Clean the vehicle and remove personal items before shooting. A clean car reveals its true condition. Remove license plates if privacy is a concern.
Choosing a Setting
Pick any dry, flat surfaced location with space for the vehicle and 15-25ft surrounding it. When indoors make sure the ceiling has a clearance greater than 16ft.
Lighting
Avoid harsh lighting, illuminate the vehicle with evenly dispersed soft lights for best results. When shooting outside, avoid harsh sunlight, nighttime, and overcast conditions are ideal
Things to Keep in Mind
Don't move the vehicle or markers once shooting begins. Avoid capturing people or moving objects. Stay out of frame during captures. Be mindful of reflective surfaces.
Q&A About The AVT Creation Process
The AVT replica type you choose depends on your objectives. For basic marketing needs, an Exterior and Interior Replica is perfect! For more detailed documentation or interactive presentations, consider the Walkthrough or 3D Replica options.
No. You can capture and save multiple AVT drafts directly in the app while offline. Simply upload them once you are connected to high-speed internet.
To create AVTs using the AVT 360 App you can only use the compatible cameras listed on the suggested gear page. You can, however, upload any fully stitched 360 panoramic files to the upload page.
The AVT branding is not visible on the replicas and we can insert your logo onto the loading screen and in the top left corner of your AVTs.
You can only view the AVTs online. They can be shared and embedded using the links we provide once your tour is ready.
You can delete and reshoot any single pano as long as the tour has not been submitted for processing.
There are no subscriptions! We host all the tours for free and you can access them at any time through your account.
All you need are the tutorials and some practice. Based on our internal research it takes anywhere from 5-10 AVTs for a person to become proficient. For the first couple of tours we advise to go at a slower pace and rely more on the tutorials.